Sometimes I do, sometimes I don't. Sometimes I find that yes I really can make that, but why would I want to? It was WAY easier just to buy it. This blog is dedicated to the times that I do!
My first entry will be about this SUPER Halloween wreath that I found on Etsy.
I have included the link for two reasons:
1. I recognize that many of you have neither the desire, or know how to DIY some of this stuff
2. I in NO WAY want to take away business from any of my fellow Etsyians. You work hard for every single sale you make.
OK here we go. So the wreath has a pretty hefty price tag of $120. I am broke that is WAY over my price range. I would like to spend about $20. First I spent hours (OK more like 10 min) pouring over the picture, decided what I really liked about it. Also how it might be constructed. In the end I decided on these materials:
1 18" foam wreath core................................$11.99 (ouch!)
1 spool of 3" wide black satin ribbon.............$6.99
2 rolls 4" wide cotton gauze @ $2.99............$5.98
Muslin...........................................................FREE cause I already had it
Fabric glue....................................................FREE I am so prepared
TOTAL....$24.96

So I am already over my $20 budget, whoopsers. Oh well lets get crafting!
First thing I did was tear my muslin into strips roughly 4" wide. No, I didn't measure I just eyeballed it and ripped! Why ripped? Cause it's spookier that's why! It took me 6 strips to wrap my entire wreath. Nothing fancy, just wrap and glue.
 |
| All cut up and ready to go! |
 |
| Wrap and glue, wrap and glue! |
 |
| And done! |

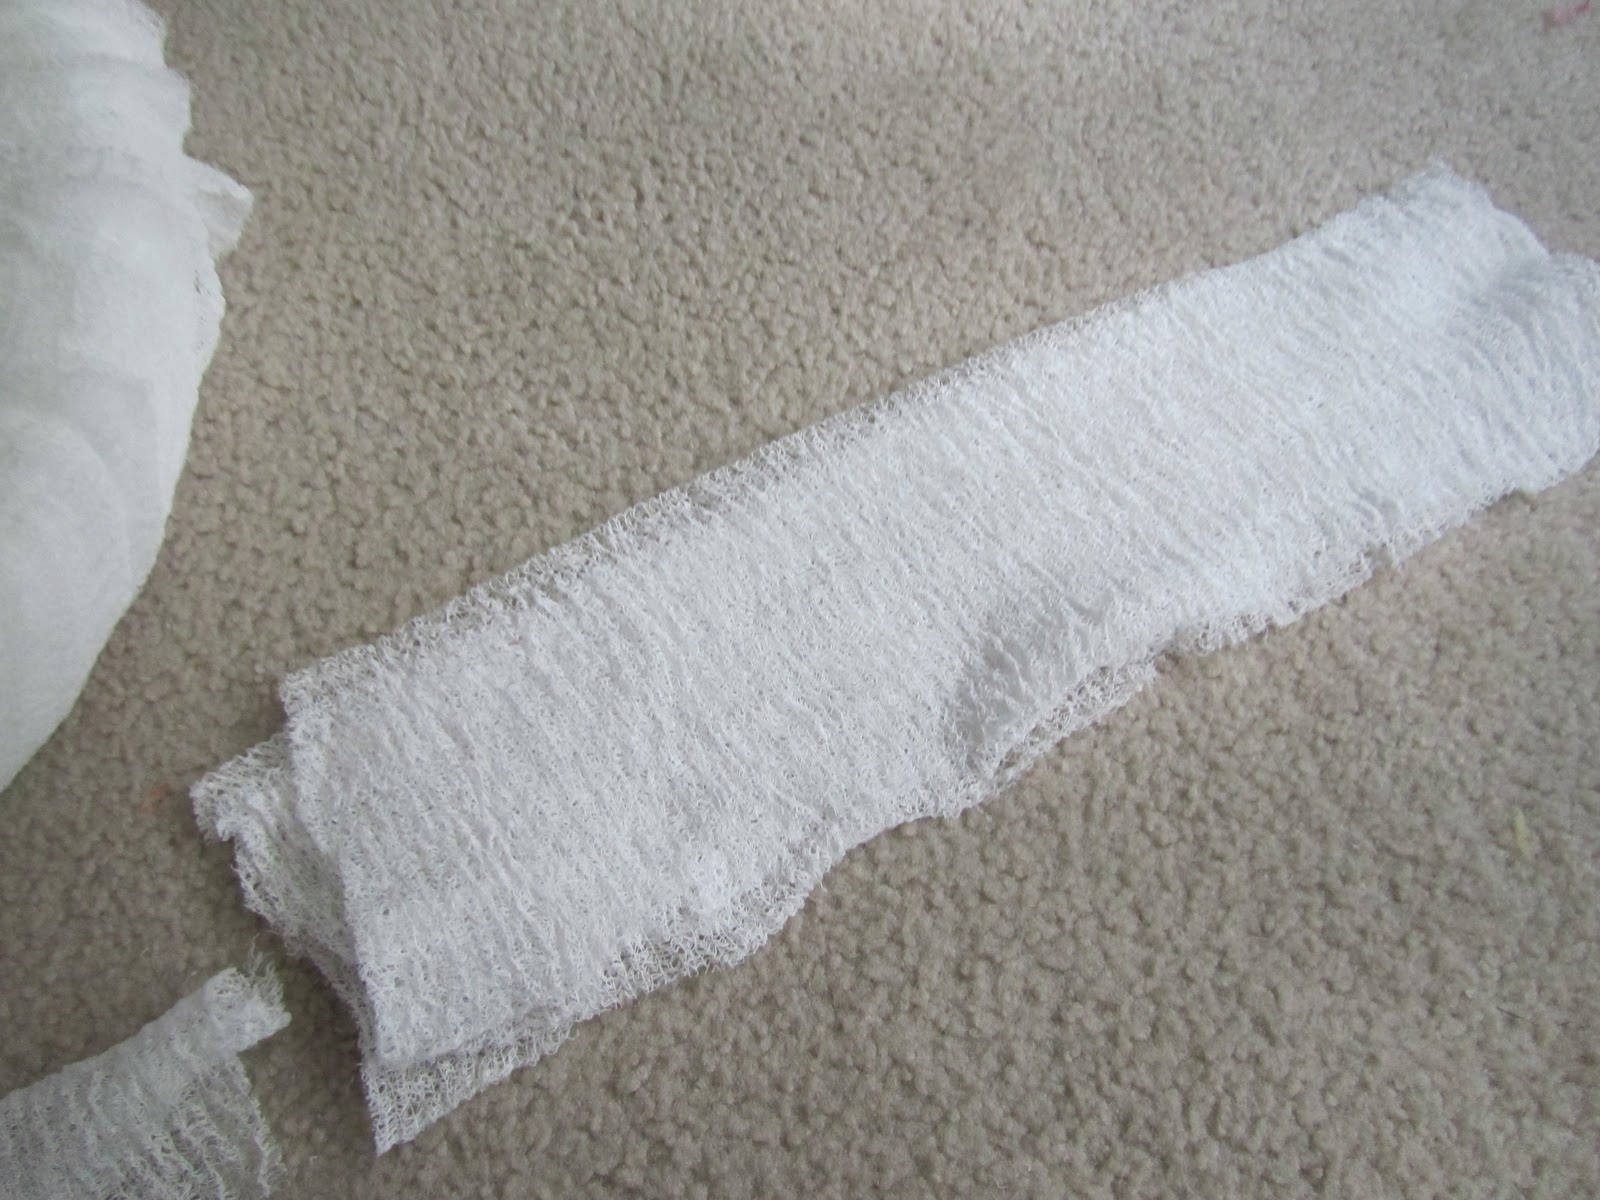

I kind of pulled and teased the ends of the gauze that hung over. It makes it kinda puffy and mummy-ish. So just keep tying and teasing until you have made it around the wreath. At this point though I was out of gauze and had to make another trip to Target cause I am a big waster :|
More wrapping and teasing, and wrapping until it's all covered. Now you're DONE! Well, almost. Embellish as desired. I went with a length of black ribbon tied in a simple bow. Though now that I have it up I am not sold on the black...I may add some grey like the one from Etsy. I think I have some grey ribbon lurking around my craft closet.......or I could always make some!

